Managing Priority Mail in Zeninbox
Learn how to identify, organize, and stay on top of your most important emails using the Priority Mail feature in Zeninbox.
Written By lucidgrowth
Last updated Over 1 year ago
Introduction
Priority Mail in Zeninbox allows you to highlight and focus on the most critical emails that require your immediate attention. By marking certain emails as a priority, you ensure that they are always visible at the top of your inbox, helping you stay organized and responsive. This feature is especially useful for managing important communications, such as client inquiries, project updates, or time-sensitive information.
Key Features
Pinning Important Emails
Easily pin priority emails to keep them at the top of your inbox, making sure they remain visible until you address them.Custom Priority Tags
Apply custom tags like “Urgent” or “Low” to categorize and prioritize emails based on their level of importance.Priority Filters
Use filters to quickly view only your priority emails, enabling you to focus on high-priority tasks without distraction.Automatic Prioritization Rules
Set up automation rules to automatically tag emails as priority based on sender, subject keywords, or specific criteria, ensuring that critical messages are never missed.
Benefits of Using Priority Mail
Enhanced Focus: Keep your most important emails front and center, reducing the chances of missing out on urgent messages.
Improved Response Times: By focusing on priority emails first, you can respond to time-sensitive requests more quickly.
Organized Workflow: With custom tags and automatic prioritization, you can maintain a clean inbox while ensuring that important conversations are easy to find.
Efficient Sorting: Use filters to sort out priority emails from other messages, helping you manage high-priority tasks more effectively.
Step-by-Step Guide to Using Priority Mail
Step 1: Marking an Email as a Priority
Go to Your Conversations: Navigate to the “Inbox” tab in Zeninbox.
Select the Email: Click on the email you want to prioritize.
Click the “Mark as Priority” Button: Look for the priority icon at the top of the email view and click it to mark the email as priority.

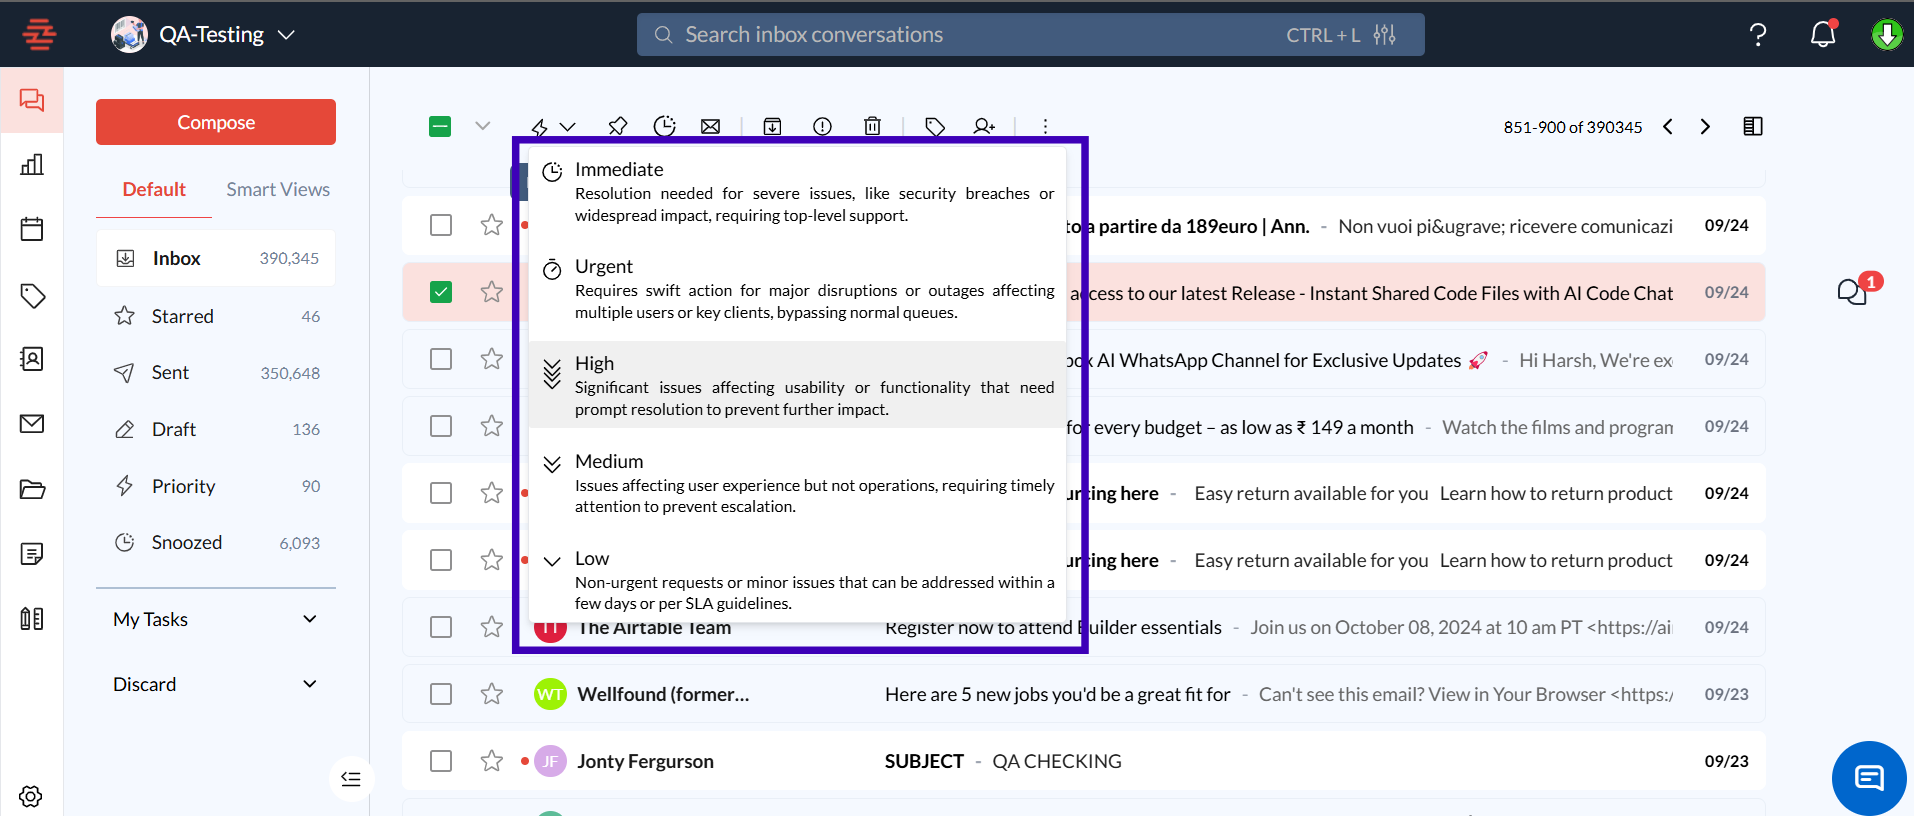
Step 2: Using Custom Priority Tags
Open the Email: Select the email you wish to tag.
Click on “Tags”: Choose from existing tags or create a new one such as “Urgent” or “Low.”
Apply the Tag: The tag will be added to the email, and it will be sorted under the priority category.
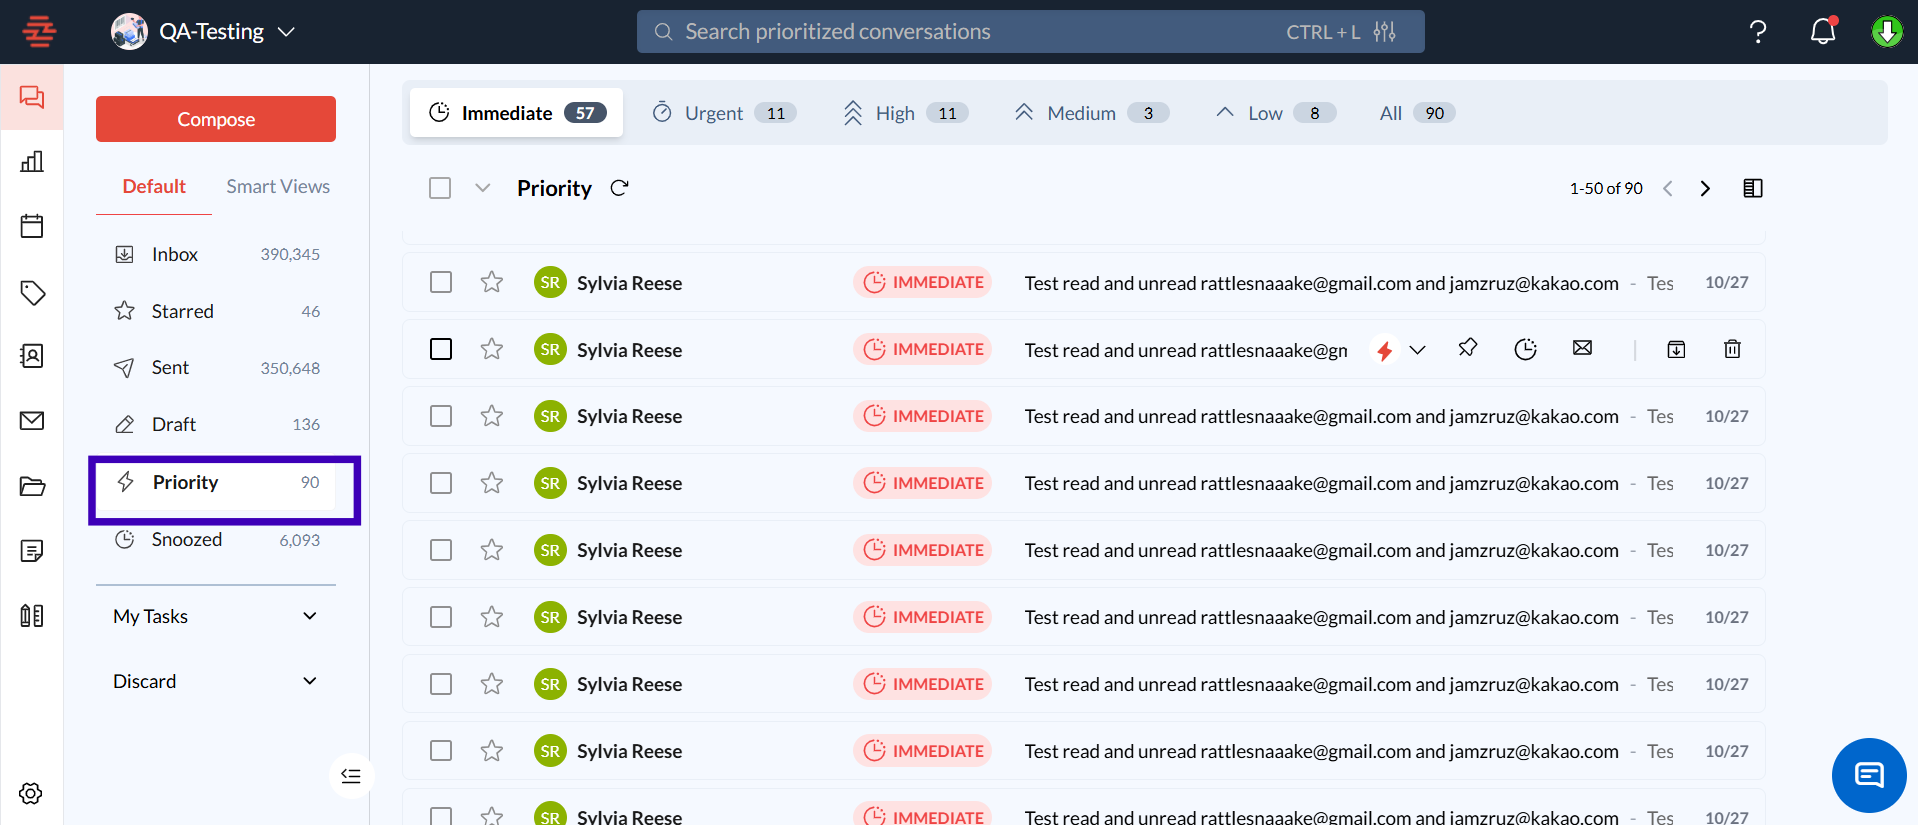
Step 3: Filtering for Priority Emails
Click on the Priority tab, which is located in the sidebar.
Select “Priority”: Choose the “Priority” to view only emails that have been marked as priority.
Focus on Important Messages: Review your filtered inbox for priority emails.
FAQs
Q: How do I remove the priority status from an email?
A: To remove the priority status, click on the priority icon again, and the email will return to its regular position in the inbox.
Q: How many emails can I mark as a priority?
A: There is no limit to the number of emails you can mark as priority, but it's recommended to use this feature for truly critical messages to maintain clarity.
Conclusion and Next Steps
Using Priority Mail in Zeninbox can significantly improve how you manage your time-sensitive communications and important tasks. Now that you understand how to mark emails as priority and use custom tags. For more guidance, visit our Help center or contact us at support@zeninbox.ai. Happy organizing!