Organization General Settings in Zeninbox
Configure team-wide preferences and settings to align Zeninbox with your organization's needs and workflows.
Written By lucidgrowth
Last updated Over 1 year ago
Introduction
Organization General settings in Zeninbox provide administrators with the ability to configure organization-wide preferences, including language, time zone, notification settings, and default workspace options. This feature ensures consistency across the organization, streamlining communication and enhancing user experience for all team members.
Prerequisites
Access Level: Only users with admin permissions can access and modify Organization General settings.
Important Note: Changes made in Organization General settings will impact all users within the organization, so it's important to ensure that the settings align with the organization's requirements.
Step-by-Step Instructions
Accessing Organization General Settings:
Log in to your Zeninbox account with admin privileges.
Navigate to the Settings icon in the lower-left corner of the sidebar.
Select Organization General from the sidebar under the ORGANIZATION section.
Customizing Organization General Settings:
Organization Details:
View and edit basic organization details such as industry type, employee count, and creation date.
Example: Update the organization name or change the industry type to better reflect your business.
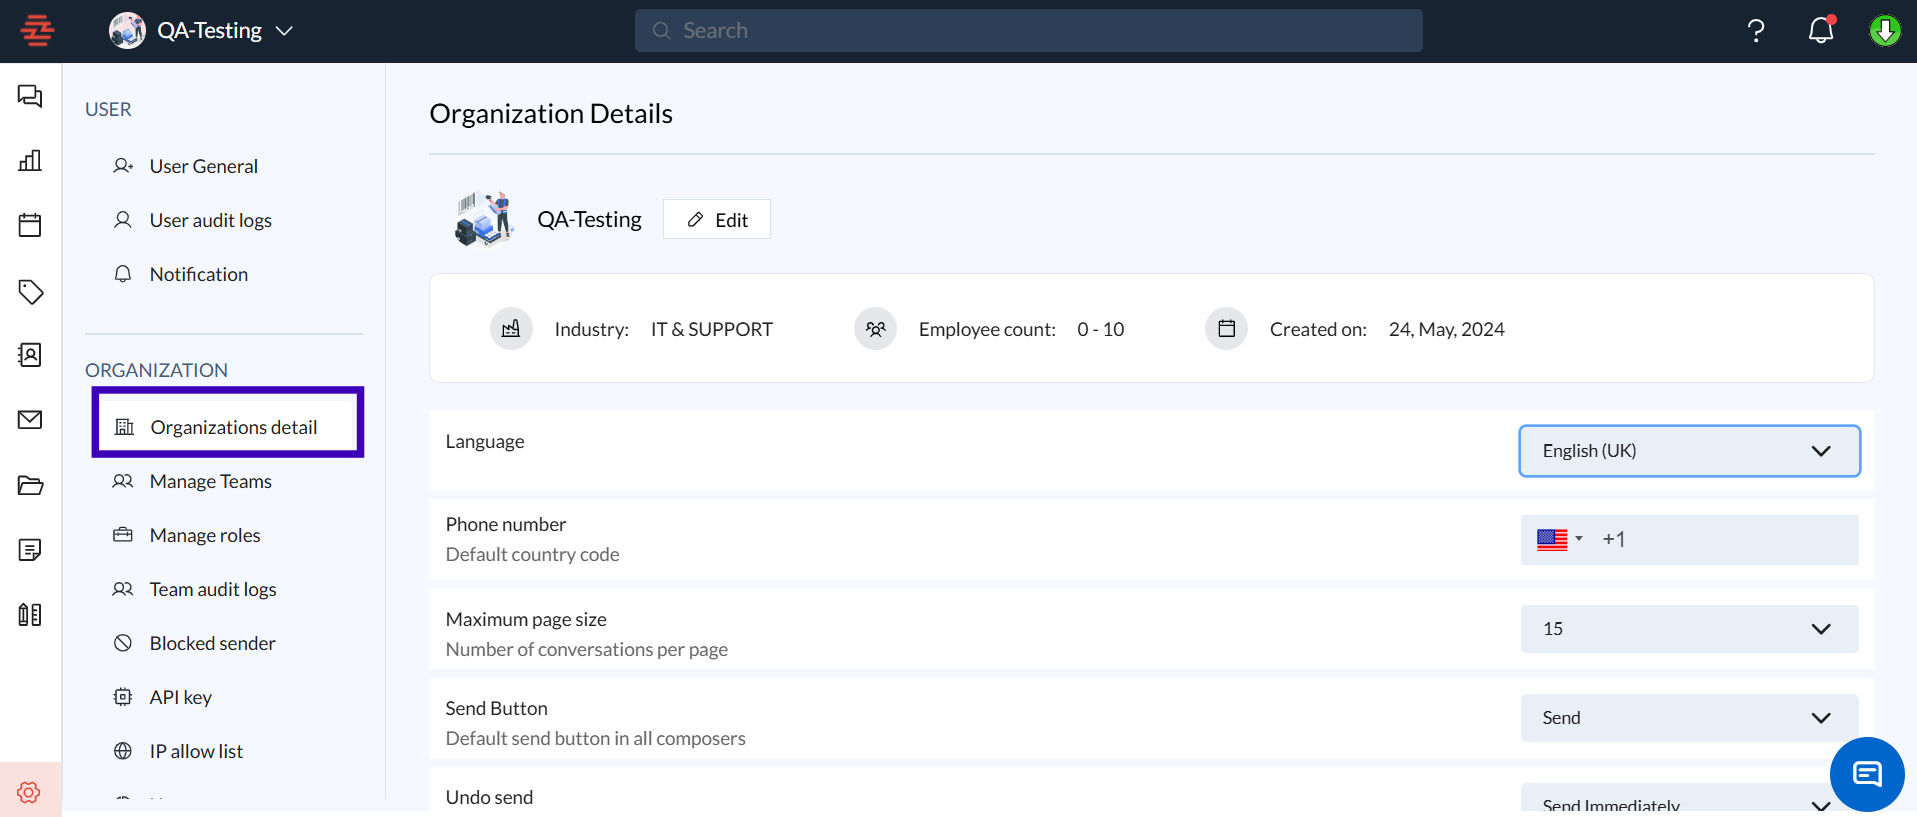
Phone Number:
Set the default country code for phone numbers, which will be used throughout the organization for consistency.
Example: Choose "+1" for the United States.
Maximum Page Size:
Adjust the number of conversations displayed per page for all users (e.g., 50).
This helps manage how many emails are visible on a single screen, balancing performance and usability.
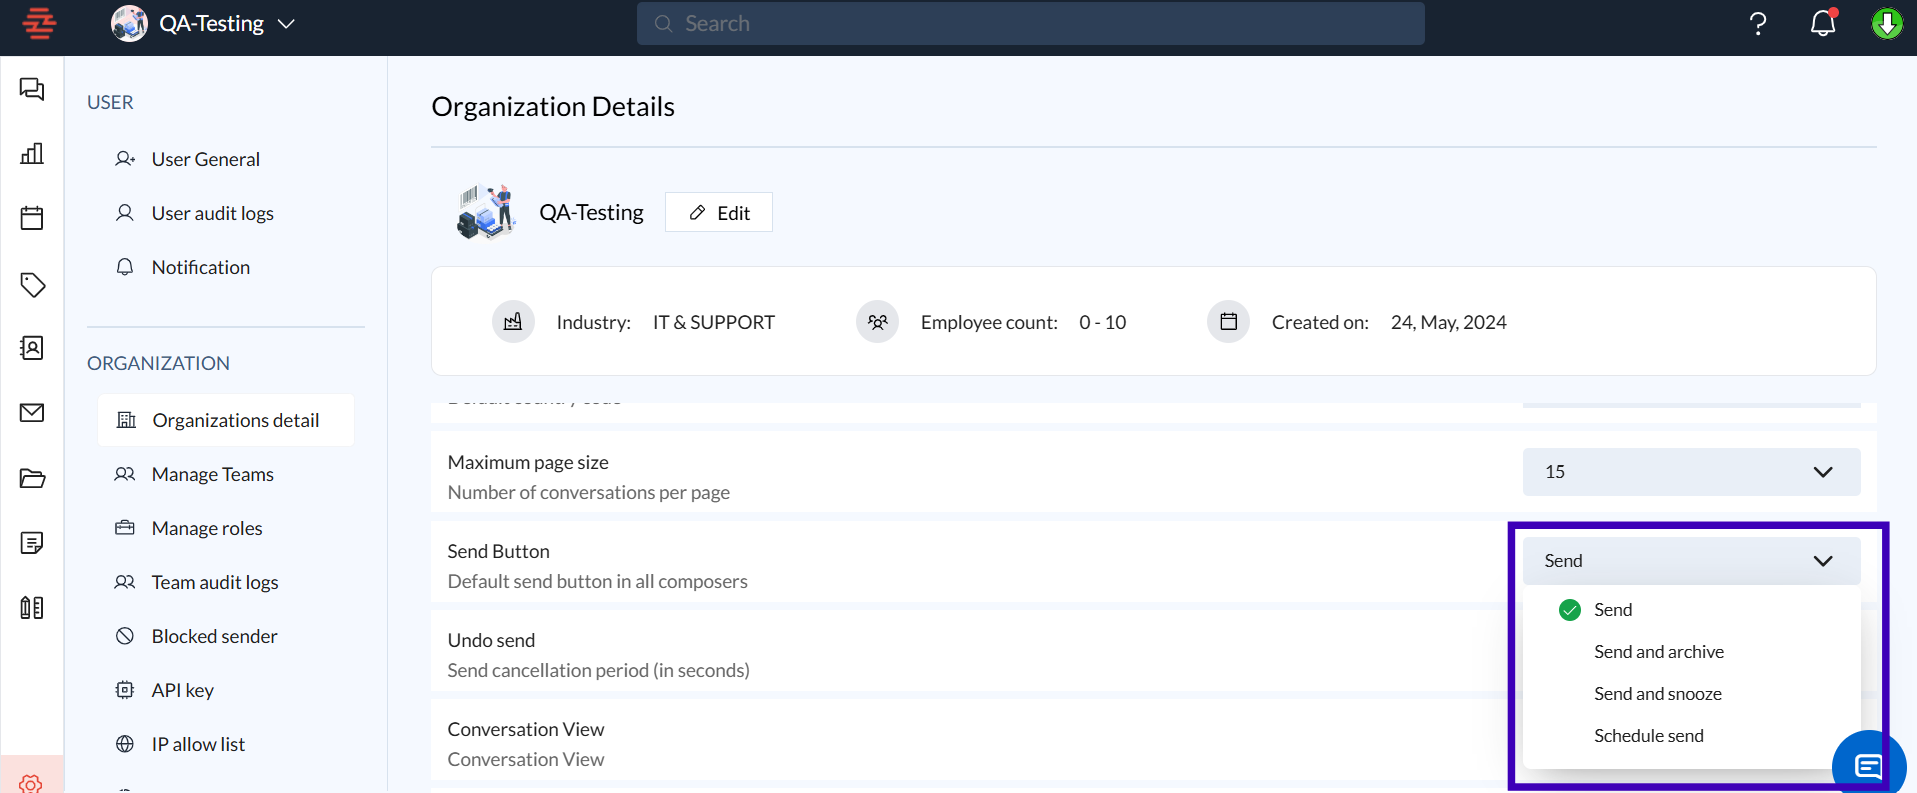
Send Button:
Choose the default behavior of the send button across the organization, such as "Send" or "Send & Archive."
Tip: Selecting "Send & Archive" helps keep inboxes clean by moving sent messages automatically.
Undo Send:
Set a cancellation period for sent emails (e.g., 5 seconds) to allow users time to recall a message after clicking send.
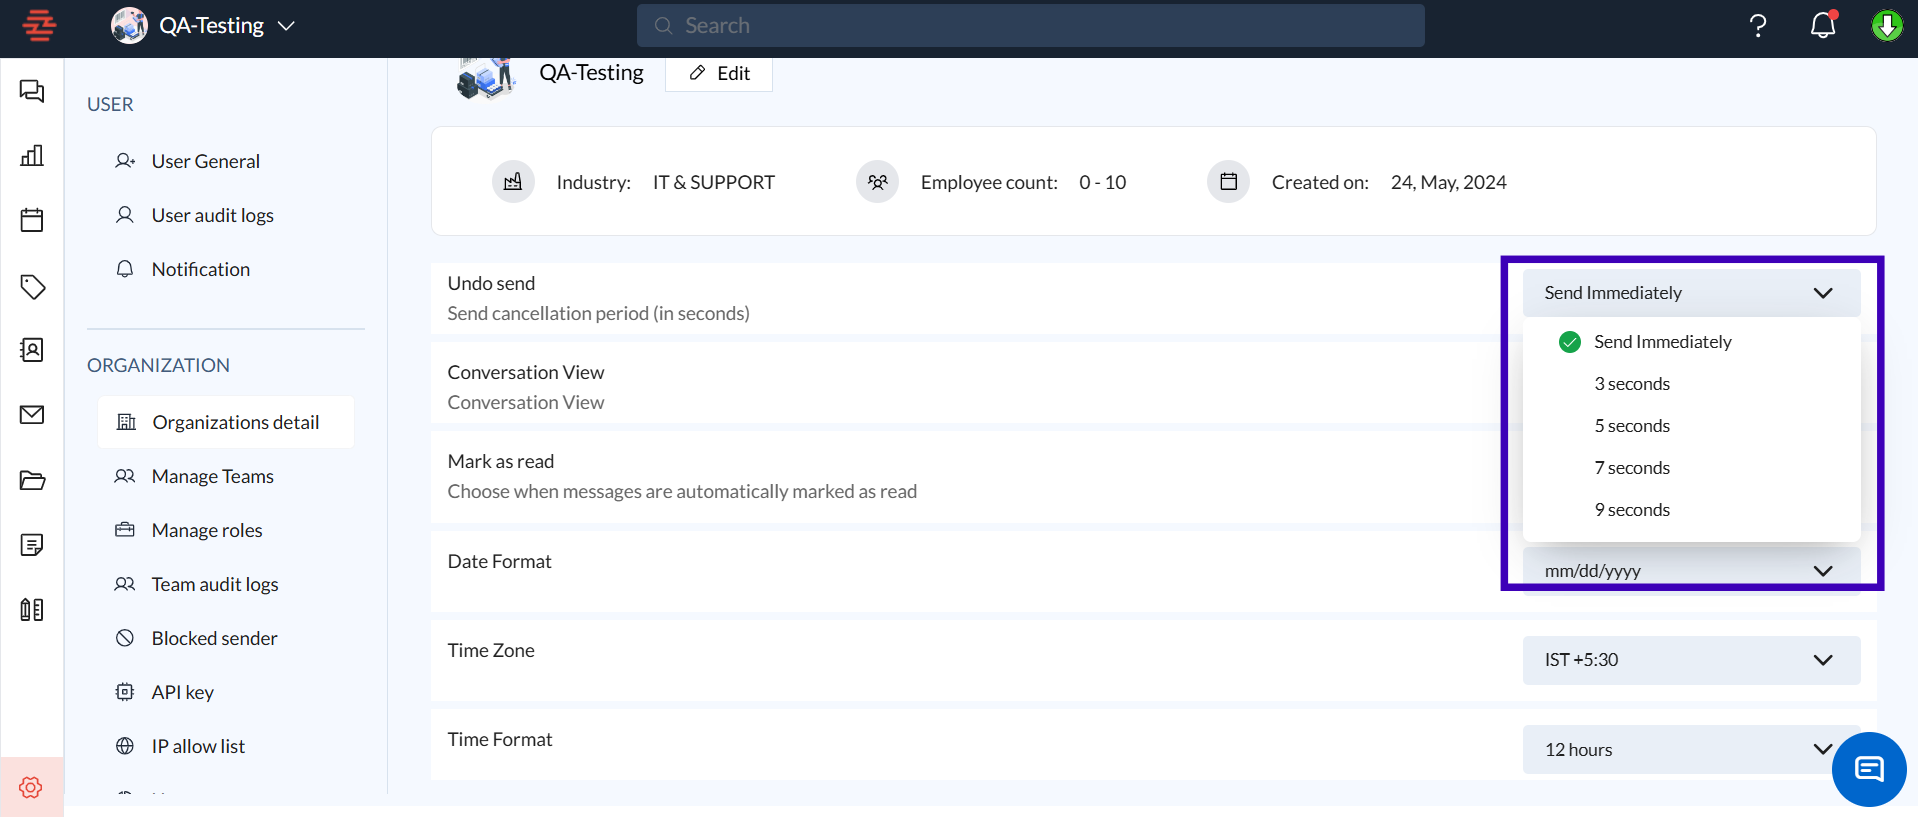
Conversation View:
Configure how conversations are displayed—choose between the "Split" or "No Split" view for a more tailored email reading experience.
Mark as Read:
Decide when emails should be marked as read (e.g., "When a message is opened").
Tip: This setting can help users keep track of unread messages for better focus.
Date & Time Settings:
Customize the Date Format (e.g., "mm/dd/yyyy") and Time Format (12-hour or 24-hour).
Set the organization’s Time Zone to ensure consistency in scheduling and meeting times.
Auto Save Attachments in Drive:
Enable automatic saving of email attachments to a designated drive, simplifying file management.
Example: Automatically store all incoming attachments in a specified folder for easy access.
Read Receipt:
Configure default settings for read receipts, allowing users to know when their emails have been read.
Additional Tips and Best Practices
Regularly Review Organization Settings to ensure that configurations align with changing business needs.
Use the Undo Send Feature to prevent accidental sends and improve email communication accuracy.
Enable Auto Save Attachments for teams that handle a large volume of files, ensuring that important documents are never misplaced.
Set Time zones correctly to avoid discrepancies in meeting schedules, especially for remote teams.
Common Issues and Troubleshooting
Issue: Files are not being auto-saved to the drive.
Solution: Check if the Auto Save Attachments in Drive feature is enabled and that the designated drive has sufficient storage space.
Conclusion and Next Steps
By managing Organization General settings, admins can ensure a consistent and efficient workflow across all teams within Zeninbox. If you need further assistance, reach out to Zeninbox support.