User General Settings in Zeninbox
Learn how to customize your general settings in Zeninbox to personalize your email experience and optimize functionality.
Written By lucidgrowth
Last updated Over 1 year ago
Introduction
User General in Zeninbox allows users to customize their experience by adjusting personal and general settings, such as language preferences, notification options, and display configurations. These settings help users optimize Zeninbox for their unique needs, making email management smoother and more intuitive.
Prerequisites
Access Level: To access User General settings, you must be logged in to your Zeninbox account with user permissions.
Important Note: Some options may require administrative permissions or may be restricted based on organizational policies set by the admin.
Step-by-Step Instructions
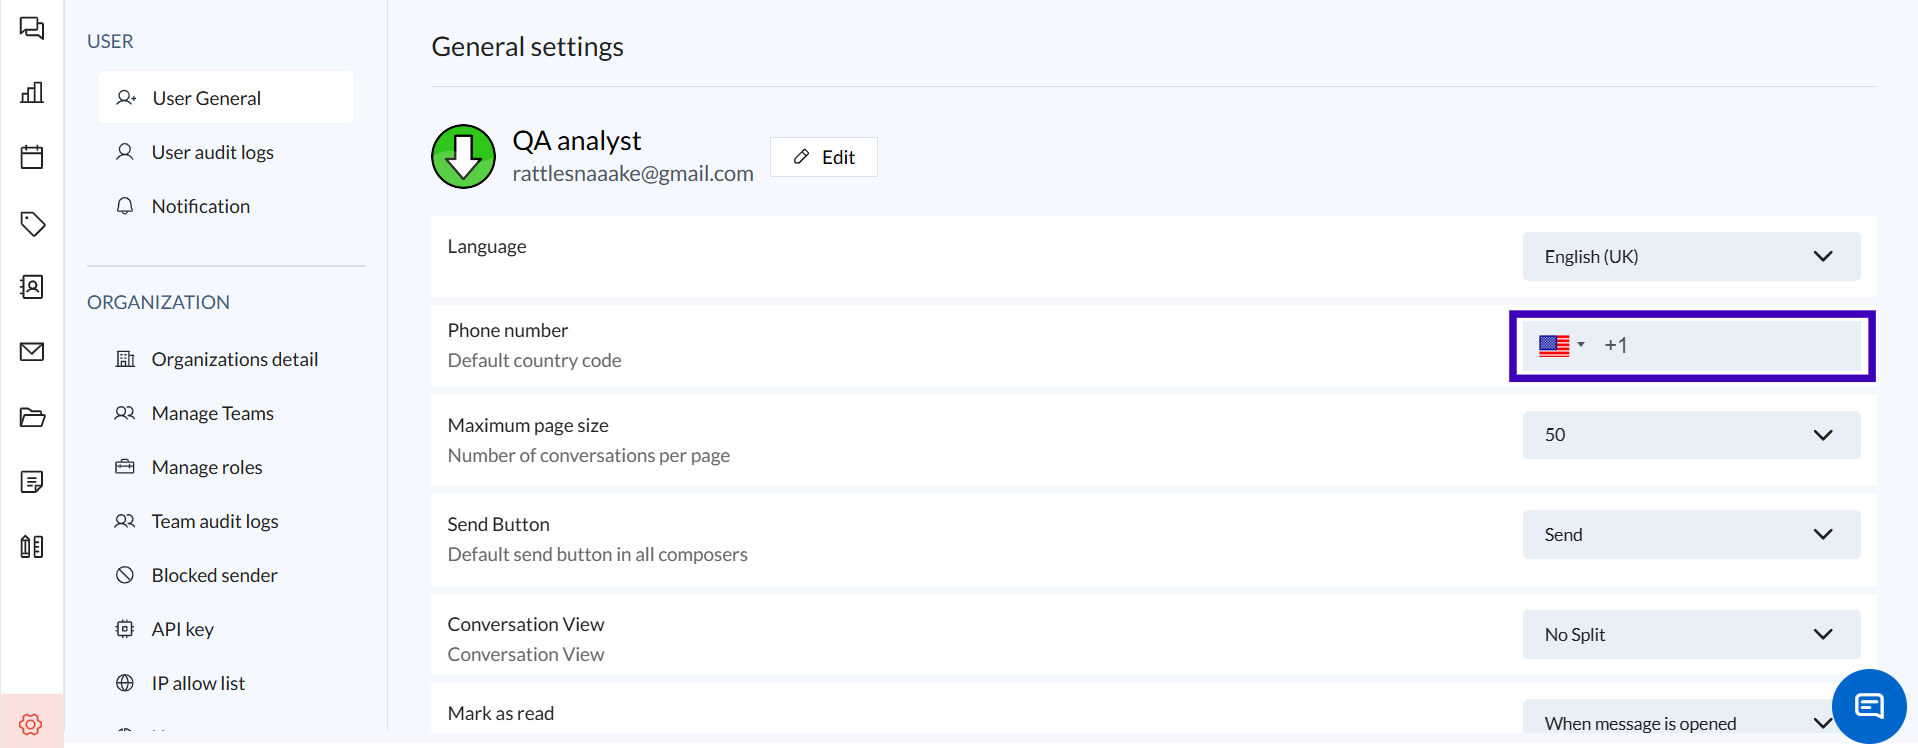
Accessing User General Settings:
Log in to your Zeninbox account.
Navigate to the Settings icon in the lower-left corner of the sidebar.
Select User General from the sidebar under the USER section.
Customizing User General Settings:
Phone Number:
Set your default country code for ease in communication.
Example: Choose "+1" for US.
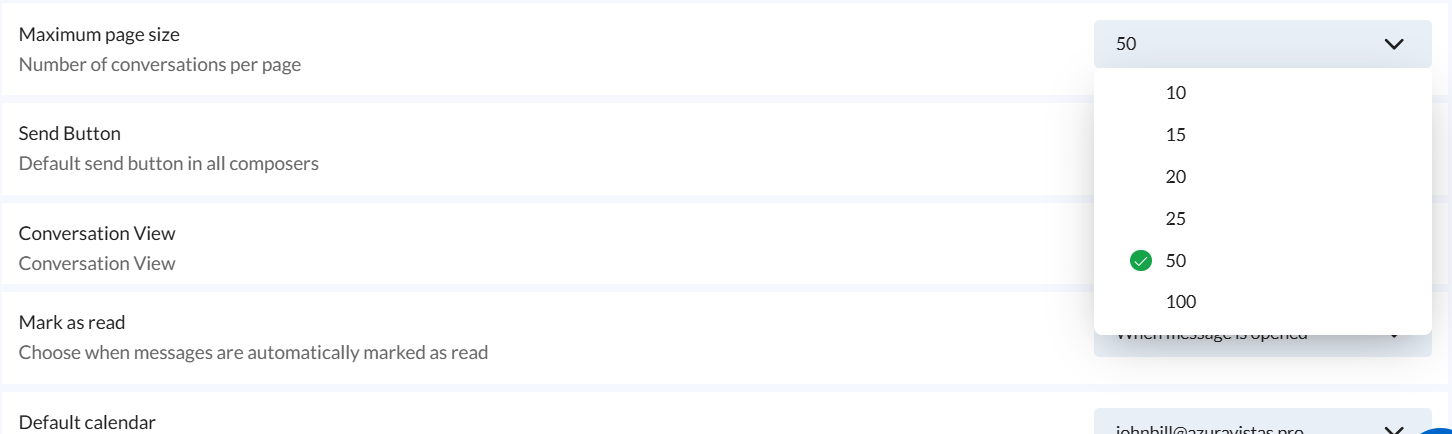
Maximum Page Size:
Adjust the number of conversations displayed per page (e.g., 50).
This helps manage the number of conversations visible on a single screen, making it easier to navigate through large volumes of emails.
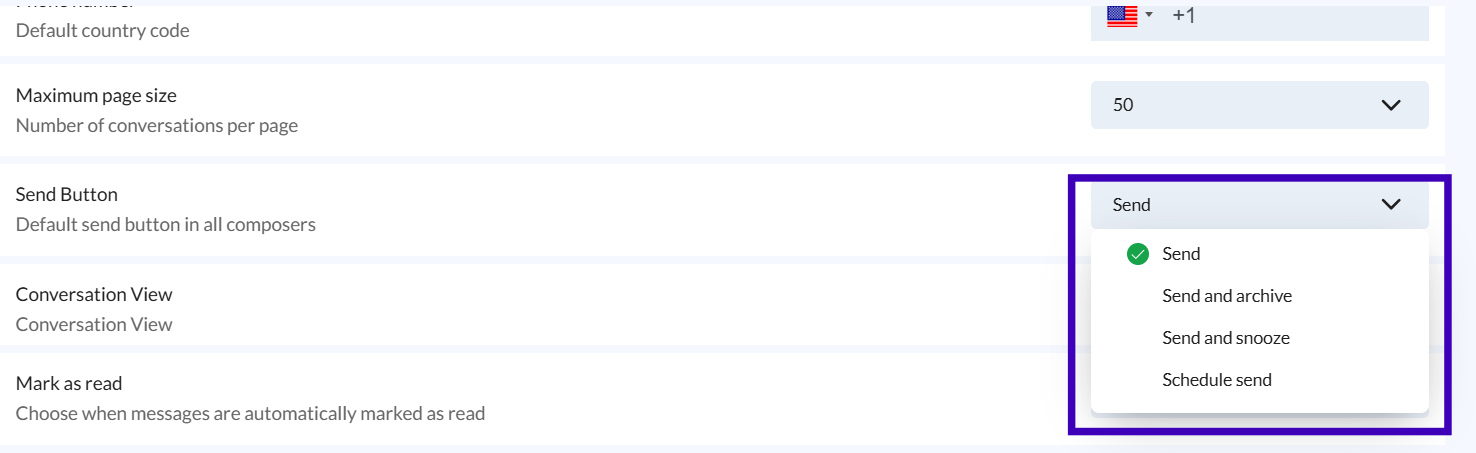
Send Button:
You can choose the send button's default behavior, such as "Send" or "Send & Archive."
Tip: Select "Send & Archive" to automatically move sent emails out of your inbox.
Conversation View:
Set the default split view for conversations. Choose between "Split" or "No Split" based on your preference for viewing conversations.
Mark as Read:
Decide when conversations should be marked as read (e.g., "When a message is opened").
This helps maintain focus on unread messages.
Default Calendar:
Set the default calendar to use when scheduling new events.
Example: Choose your work or personal calendar.
Availability:
Toggle availability status to indicate your presence for new events.
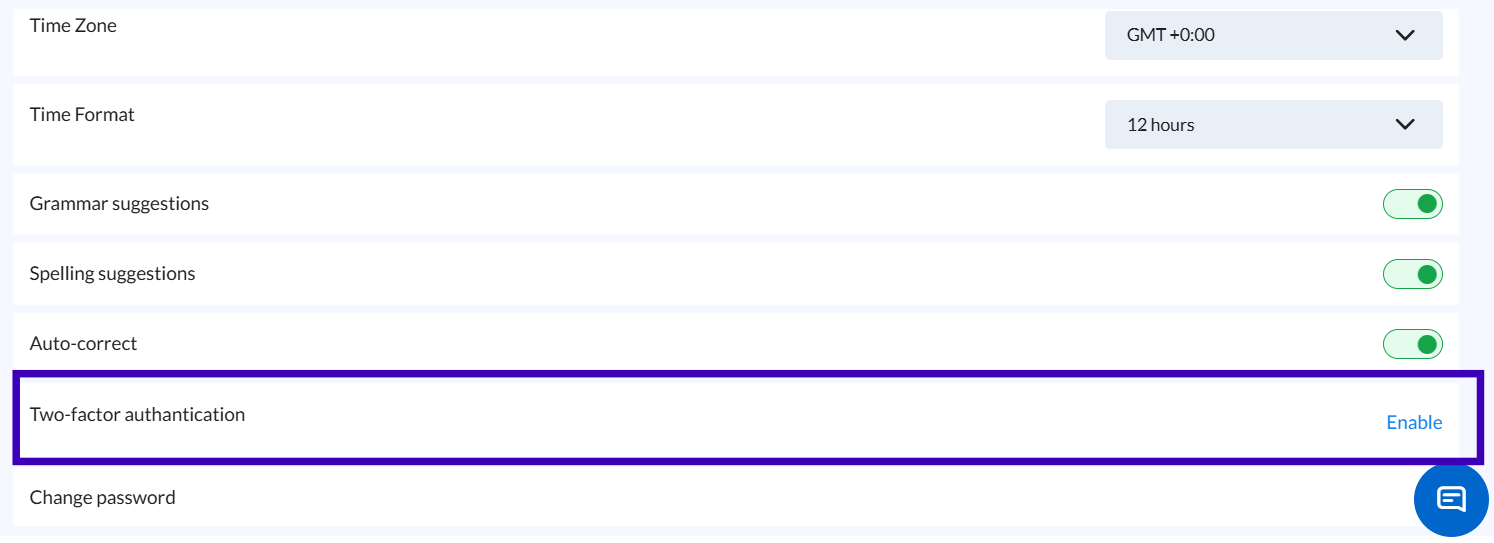
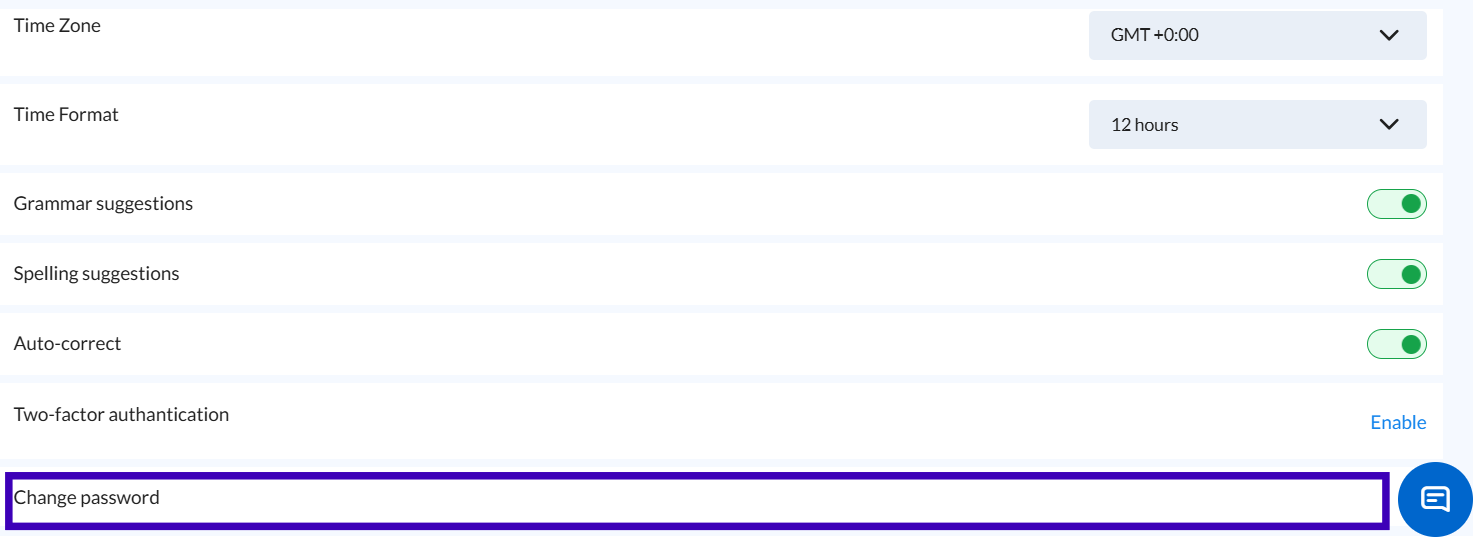
Date & Time Settings:
Customize the date format (e.g., "mm/dd/yyyy") and time format (12-hour or 24-hour).
Set your Time Zone to match your location for accurate scheduling.
Grammar & Spelling Suggestions:
Enable or disable grammar suggestions, spelling suggestions, and auto-correct for improved message composition.
Two-factor Authentication:
For added security, enable two-factor authentication (2FA) to secure your account.
Change Password:
Select Enable to update your password and maintain account security.
Additional Tips and Best Practices
Adjust Maximum Page Size based on your preference for scrolling through emails—use a lower value for faster page loads.
Enable 2FA for enhanced security, especially if you handle sensitive information.
Auto-correct is useful for quickly composing error-free emails, while disabling it can help avoid unintended changes in technical terms.
Set Availability to indicate your presence for scheduling purposes, helping your team stay aware of your status
Common Issues and Troubleshooting
Issue: Time zone mismatch in calendar events.
Solution: Verify that your time zone is correctly set in Time Zone under User General settings.Issue: Unable to set the default calendar.
Solution: Check if the calendar integration is correctly set up. Contact support if the issue persists.
Conclusion and Next Steps
By adjusting your User General settings, you can tailor Zeninbox to fit your needs, streamline communication, and improve productivity. If you encounter any issues or need further assistance, reach out to Zeninbox support.