How to Upload Contacts via CSV in Zeninbox
Learn how to easily upload multiple contacts at once in Zeninbox by importing them through a CSV file.
Written By lucidgrowth
Last updated Over 1 year ago
Introduction
The Upload Contacts via CSV feature in Zeninbox CRM Beta simplifies the process of adding multiple contacts at once. It is ideal for users who need to import large datasets, like lists of clients from events, trade shows, or legacy systems, into the CRM.
Prerequisites
Access Level: Ensure you have permission to import contacts within CRM Beta.
CSV File Format: Ensure that your CSV file is correctly formatted. Download the sample CSV template provided in Zeninbox for guidance.
Important Note: Make sure that column headers in your CSV match the fields you want to map in Zeninbox.
Step-by-Step Instructions for Uploading Contacts via CSV
Preparing Your CSV File
Download the Sample CSV Template from the Zeninbox Import with the CSV page.
Open the template and fill in the contact details:
Include columns like Name, Email, Phone Number, Company Name, etc.
Save the file in
.csvformat to ensure compatibility.
Uploading and Mapping CSV Data
Go to the CRM Beta section in Zeninbox.
Click on Add Contact and select Import with CSV.
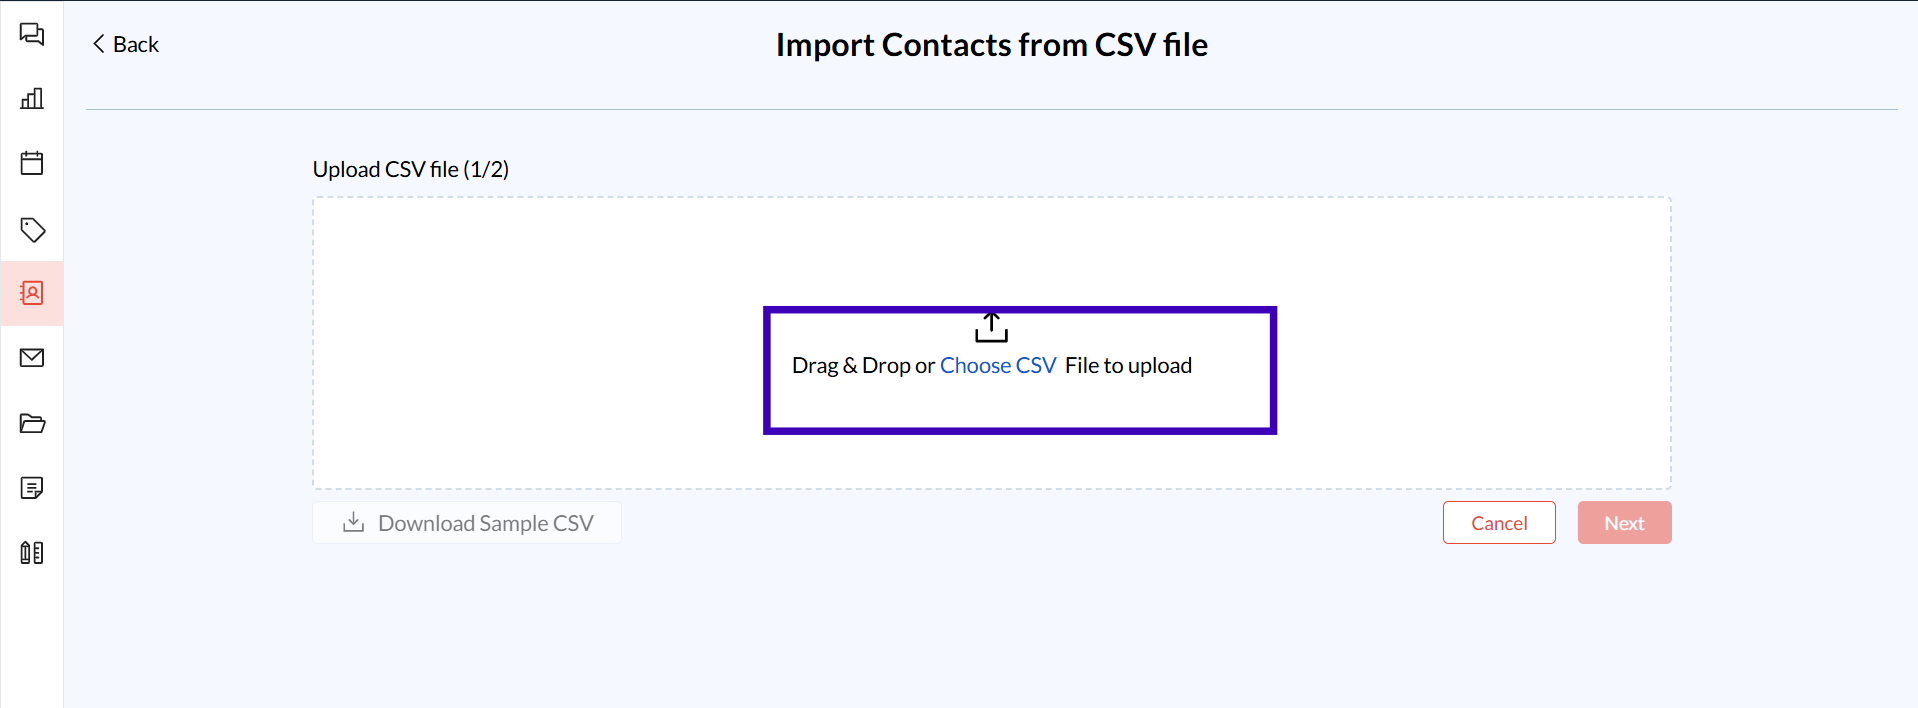
Upload Your CSV File:
Drag and drop the CSV file into the designated area or click Choose CSV File to select from your computer.
Click Next to proceed.

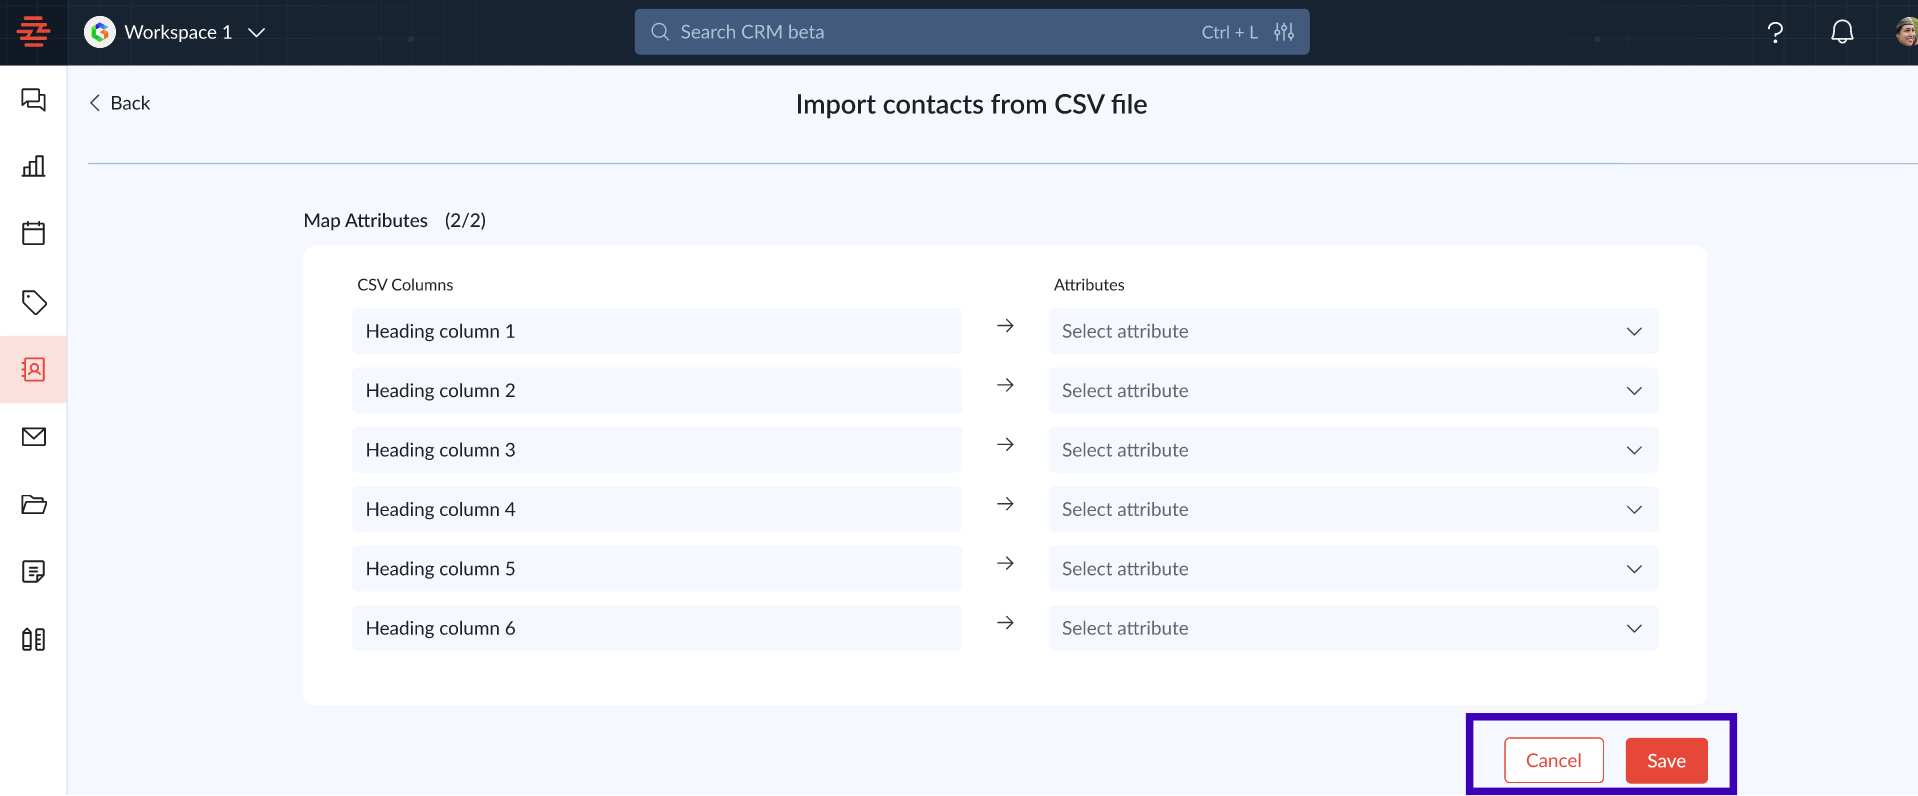
Map CSV Columns to CRM Fields:
Match each column from your CSV file with the corresponding fields in Zeninbox.
For example, map Heading Column 1 (e.g., "Email") to Email.
This step ensures that all data is imported into the correct fields.
Review and Confirm:
Review the mapped fields to ensure accuracy.
Click Save to finalize the import process.
Contacts will now appear in the Individual or Organization tabs based on the imported data.
Additional Tips and Best Practices
Use the Sample CSV: Start with the sample CSV to ensure the correct structure and avoid errors during import.
Double-Check Mapping: Make sure that each column in the CSV is correctly mapped to a CRM attribute for accurate data import.
Preview Data: Use the preview option before saving to avoid importing incorrect information.
Common Issues and Troubleshooting
Issue: CSV file upload fails.
Solution: Ensure the file is in.csvformat and follows the template structure provided. Check for any empty rows or formatting issues.Issue: Data does not appear correctly after import.
Solution: Verify that the mapping of CSV columns to CRM fields was done correctly before saving.
Conclusion and Next Steps
Uploading contacts via CSV in CRM Beta allows for a fast and efficient way to integrate large client lists into Zeninbox. If you encounter issues, contact Zeninbox support for help.