Set a Default Calendar in Zeninbox Calendar
Learn how to select and set a default calendar in Zeninbox Calendar to streamline event scheduling and management.
Written By lucidgrowth
Last updated Over 1 year ago
Introduction
Setting a default calendar in Zeninbox Calendar allows you to streamline the process of scheduling events by automatically saving new events to your preferred calendar. This feature ensures that your meetings, appointments, and reminders are always synced to the correct calendar, making it easier to stay organized. This article will guide you through the steps to set a default calendar in Zeninbox.
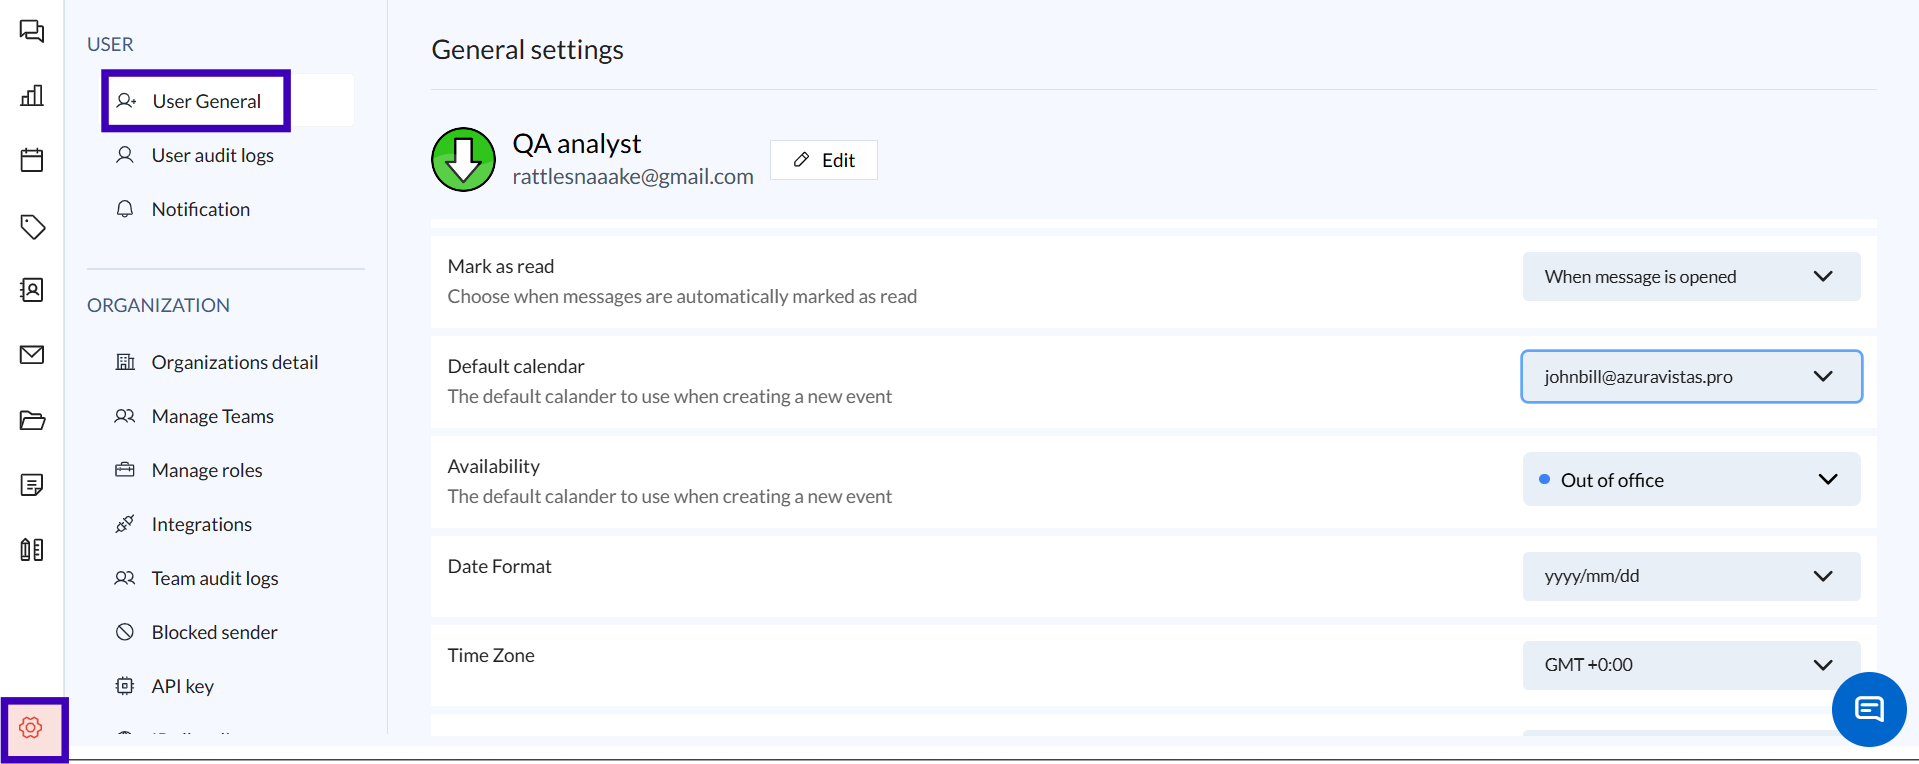
Step 1: Navigate to Settings
Click on the "Settings" icon.
In User General, Select "Default Calendar" from the drop-down menu.
Step 2: Set a Default Calendar
Under Default Calendar, click on the drop-down menu to view a list of your connected calendars.
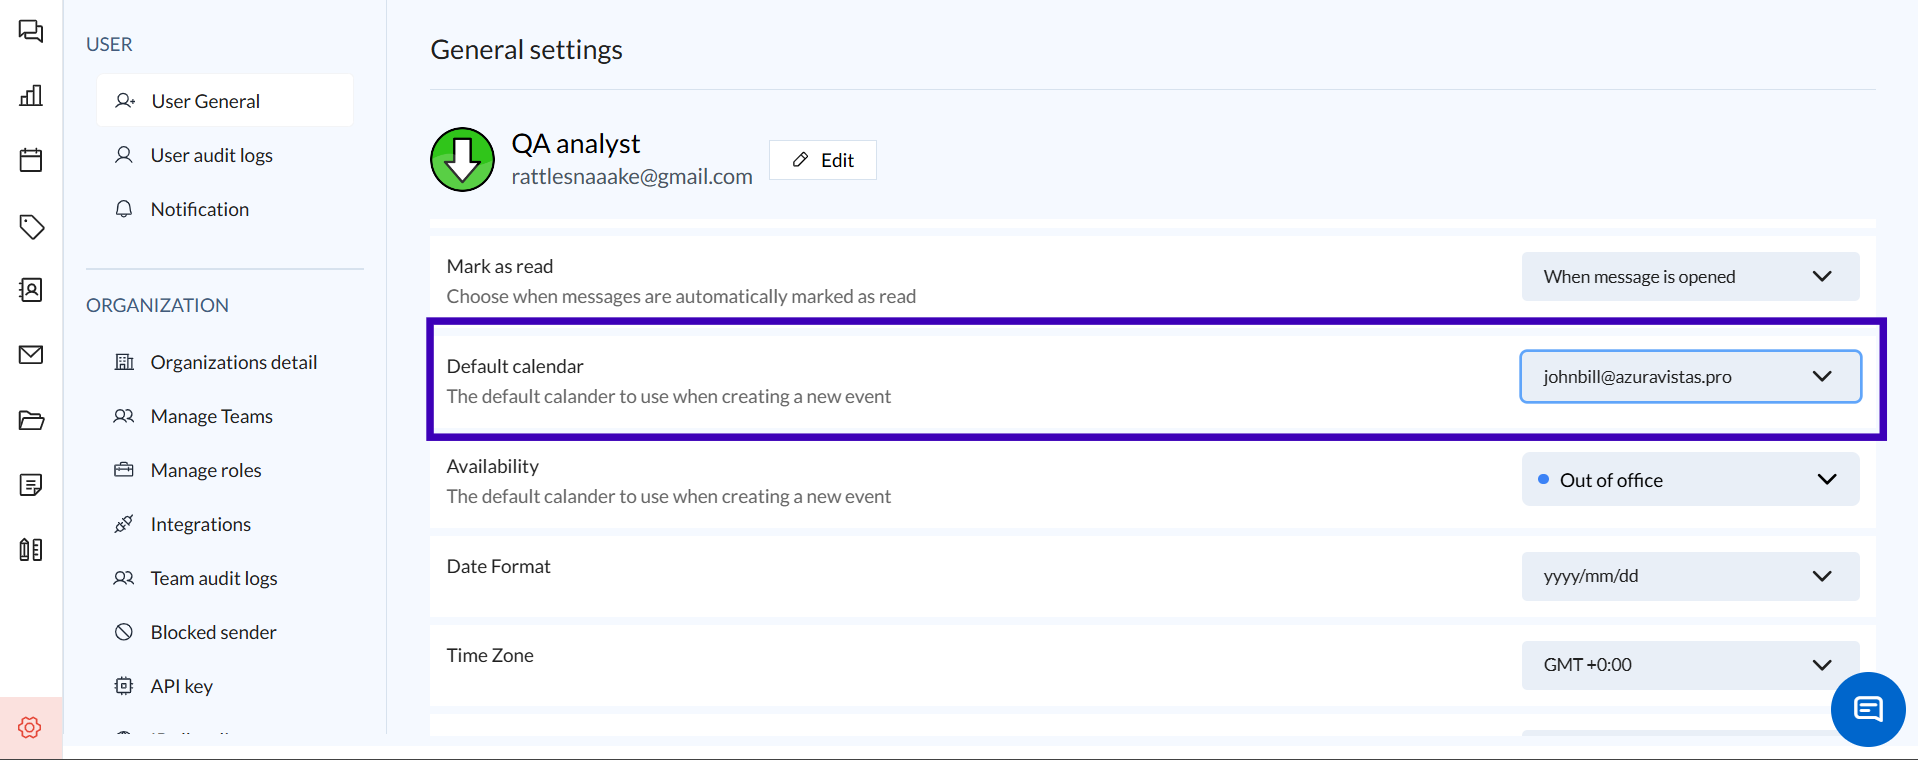
Choose the calendar you want to set as your default.
Step 3: Verify Your Default Calendar
Return to the calendar view and create a new event.
Ensure that the event is automatically added to your selected default calendar.
If the event is saved to the correct calendar, your default calendar is set up successfully.
Conclusion and Next Steps
Setting a default calendar in Zeninbox simplifies your event management process, ensuring new events are automatically saved to the right place. By following the steps outlined above, you can easily configure this feature and enjoy a more organized calendar experience.
If you have any further questions or need assistance, feel free to reach out to our support team. Happy scheduling!