How to add calendars in Zeninbox Calendar?
Learn how to integrate and manage multiple calendars in Zeninbox Calendar for seamless scheduling and organization.
Written By lucidgrowth
Last updated Over 1 year ago
Introduction
In this article, we'll walk you through the steps to add calendars in Zeninbox Calendar. This feature allows you to integrate and manage calendars from various email providers directly within Zeninbox, making it easier to keep track of your schedule without needing to switch between different platforms. By adding calendars, you can view events, set reminders, and synchronize your schedule with ease.
Prerequisites
Before adding calendars to Zeninbox, please ensure that the following conditions are met:
You have the necessary permissions to connect mailboxes.
Make sure you have the login credentials for the email account you wish to connect (e.g., Google Calendar, Outlook).
Step-by-Step Instructions
Step 1: Access the Calendar Integration Page
Log in to Zeninbox using your credentials.
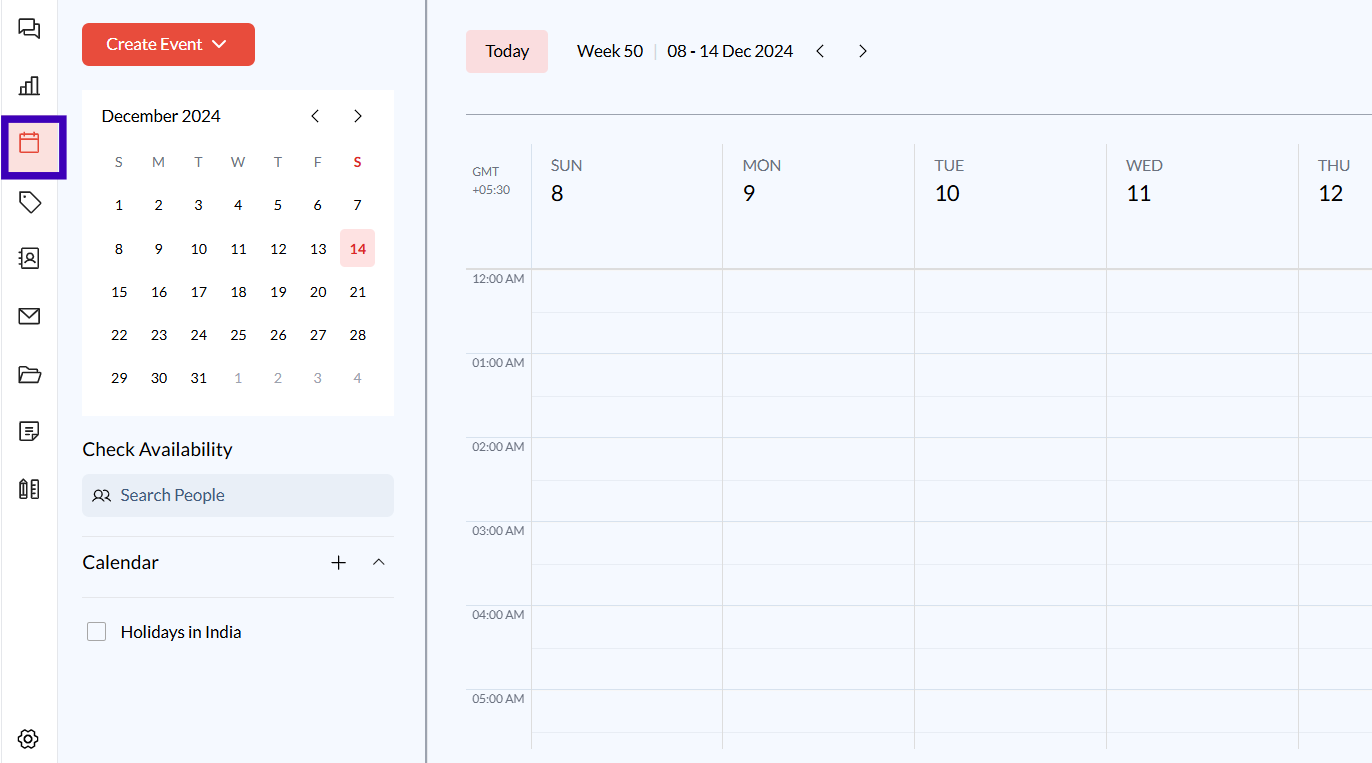
Go to the Calendar Section: Find the "Calendar" tab in the sidebar on your dashboard and click on it.
Step 2: Start the Calendar Integration Process
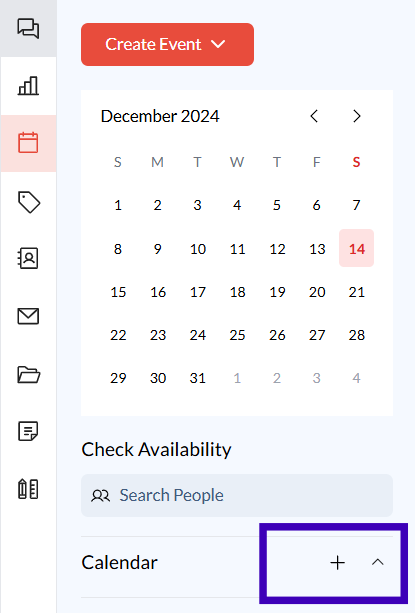
Click on the "Add Calendar" button at the bottom of the Calendar section.
A list of available mailboxes will be displayed. Select the mailbox you wish to connect with a calendar.
Click on "Connect" next to the desired mailbox.
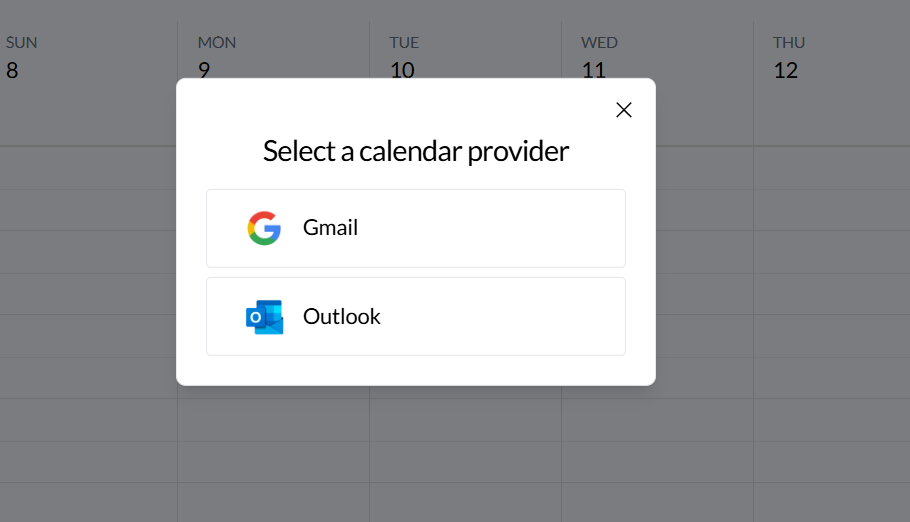
Step 3: Choose Your Calendar Provider
After selecting the mailbox, you will be prompted to choose your calendar provider (e.g., Google Calendar, Outlook).
Select the appropriate provider and follow the on-screen instructions to sign in and authorize access to your calendar.
Step 4: Grant Permissions for Calendar Access
Depending on your calendar provider, you may need to grant permission for Zeninbox to access your calendar data.
Click "Allow" or "Authorize" to grant the necessary permissions.
Once permissions are granted, your calendar events will sync with Zeninbox.
Step 5: Confirm Successful Integration
Return to the Calendar section in Zeninbox. You should see a green tick next to the mailbox that has been successfully connected to a calendar.
Your calendar events will now appear in the Zeninbox Calendar view, and you can manage them directly from this platform.
Conclusion and Next Steps
Adding calendars to Zeninbox is a great way to centralize your scheduling and email management in one place. By following these steps, you can ensure a smooth integration and enjoy the convenience of managing your events directly within Zeninbox.
If you need further assistance or have any questions, please contact our support team. Happy scheduling!