Understanding Labels in Zeninbox
Learn how to use labels in Zeninbox to categorize and organize your emails for better inbox management.
Written By lucidgrowth
Last updated Over 1 year ago
Introduction
Labels in Zeninbox are essential for organizing your emails, contacts, and mailboxes, helping you quickly categorize and find relevant information. This guide will show you how to create, apply, and manage labels effectively in Zeninbox.
Key Features of Labels
Custom Labeling: Create labels for specific needs, such as "Important," "Promotion," or "Micro Sales."
Color-Coded Labels: Choose colors for your labels for easy identification.
Bulk Labeling: Apply labels to multiple emails or contacts at once.
Label Management: Easily edit or delete labels from the Labels section.
Step-by-Step Guide to Using Labels
1. Access the Labels Section
In Zeninbox, go to the Labels section from the sidebar.
You can choose between Emails, Mailboxes, or Contacts tabs to manage labels for different categories.
2. Creating a New Label
Click the Add Label button on the right side.
A pop-up window will appear where you can enter the Label Name and Description.
Select a color to distinguish your label visually.
Click Add Label to save your new label.

3. Applying a Label to an Email, Contact, or Mailbox
Open the email, contact, or mailbox where you want to apply a label.
Click the Label icon at the top of the email or contact window.
Select the desired label from the dropdown list.
Click Apply to assign the label.
This helps categorize and quickly access related emails or contacts.
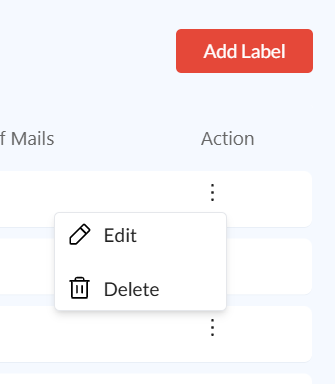
4. Managing Existing Labels
In the Labels section, you can see all your created labels with details like Description, Created By, Created On, and the Number of Contacts/Mailboxes associated.
To edit a label, click the three-dot menu next to the label and select Edit.
To delete a label, select Delete from the same menu.
Common Issues and Troubleshooting
Issue: Unable to See Labels in the Dropdown
Refresh the Page: If a newly created label isn’t showing up, try refreshing the page.
Check Permissions: Ensure your user role allows for the creation and management of labels.
Clear Cache: Sometimes, clearing your browser’s cache can resolve minor display issues.
Conclusion
Using labels in Zeninbox allows for better organization and easier access to important emails, contacts, and mailboxes. To explore more advanced ways of managing your inbox, check out our Help Center or contact our support team for additional help.